Intro article -> An introduction to GitLab
GitLab’s homepage is as follows, with a toolbar in the upper part and an activity box on the left (referred to the actual repository) with access to branches. Clicking Commits shows the related chronology in addition to the state of branches with the homonymous section. The commit feature is used to individuate users and activities on files (addition, modification, deletion).
GitLab: creating a repository
You must register at gitlab.com and create an account in order to use GitLab; then you’ll be redirected to the main projects page, which can be reached by the Projects item in the toolbar. The best way to start a project is to create a group to define users, permissions and repos, then hit Create a Project.
This is when you can decide wether to start a project from scratch, from a template or to import it. In the Visibility Level section you can define the access to the project: private, internal (whoever is logged in gitlab.com) or public. The latter is the case where anybody can partecipate in, while Internal is the ideal solution when GitLab in installed on an on-premises platform.
The main management window has the commands to start working with a plain project.
Global Setup command can be used to configure the overall environment (ie the ones used to create the repository), while Create a New Repository starts a repo from scratch; Existing Folder has the command to manage existing folders.
Obviously you can set GitLab to work from the command line; the first thing to do is to mkdir a directory for the repo with a README file.
At this point you can initialize the project with the git init command. The creation process can be automated with AutoDevOps: this tool will build, test and distribute the application in an automated manned based on a predefined CI/CD configuration (Continuous Integration / Continuous Delivery).
The resulting application can be modified at later times, of course.
The git status shows the actual situation of the project, which, at the moment, will show something like “nothing on master branch” as we haven’t added any file yet. We’ll then add the README file with the command git add README.md (on Linux and macOS it’s .md, on Windows it’s .txt). Hit git status and, after “no commits yet” you’ll see the readme file listed.
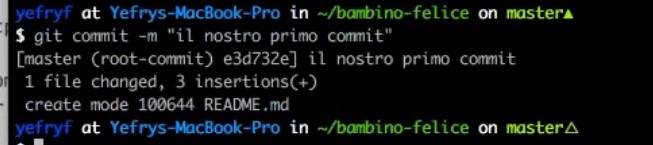
Here’s the first version of the code: let’s create the first commit with git commit -m “text-message”. Each commit must be associated with a message for the identification (-m). In the following figure the message is the Italian for “our first commit”.
Hit the Enter button to run the command and create a commit, but if we head back to the GitLab windows we don’t see anything: up to now, we’ve worked from the command line on our local computer and nothing has been uploaded on GitLab yet. To do that, the git remote add origin remote-server-url command uploads it. This address is actually the name of the repository we have created locally, can be found in the HTTPS box of the GitLab window in Overview > Details. This is the moment when the GitLab page will show any change.
 Pushing the local environment to the server is done with the git push -u origin master command.
A little bit later, in Overview > Details, you’ll see the updated repo situation, with a chronology of commits.
Pushing the local environment to the server is done with the git push -u origin master command.
A little bit later, in Overview > Details, you’ll see the updated repo situation, with a chronology of commits.
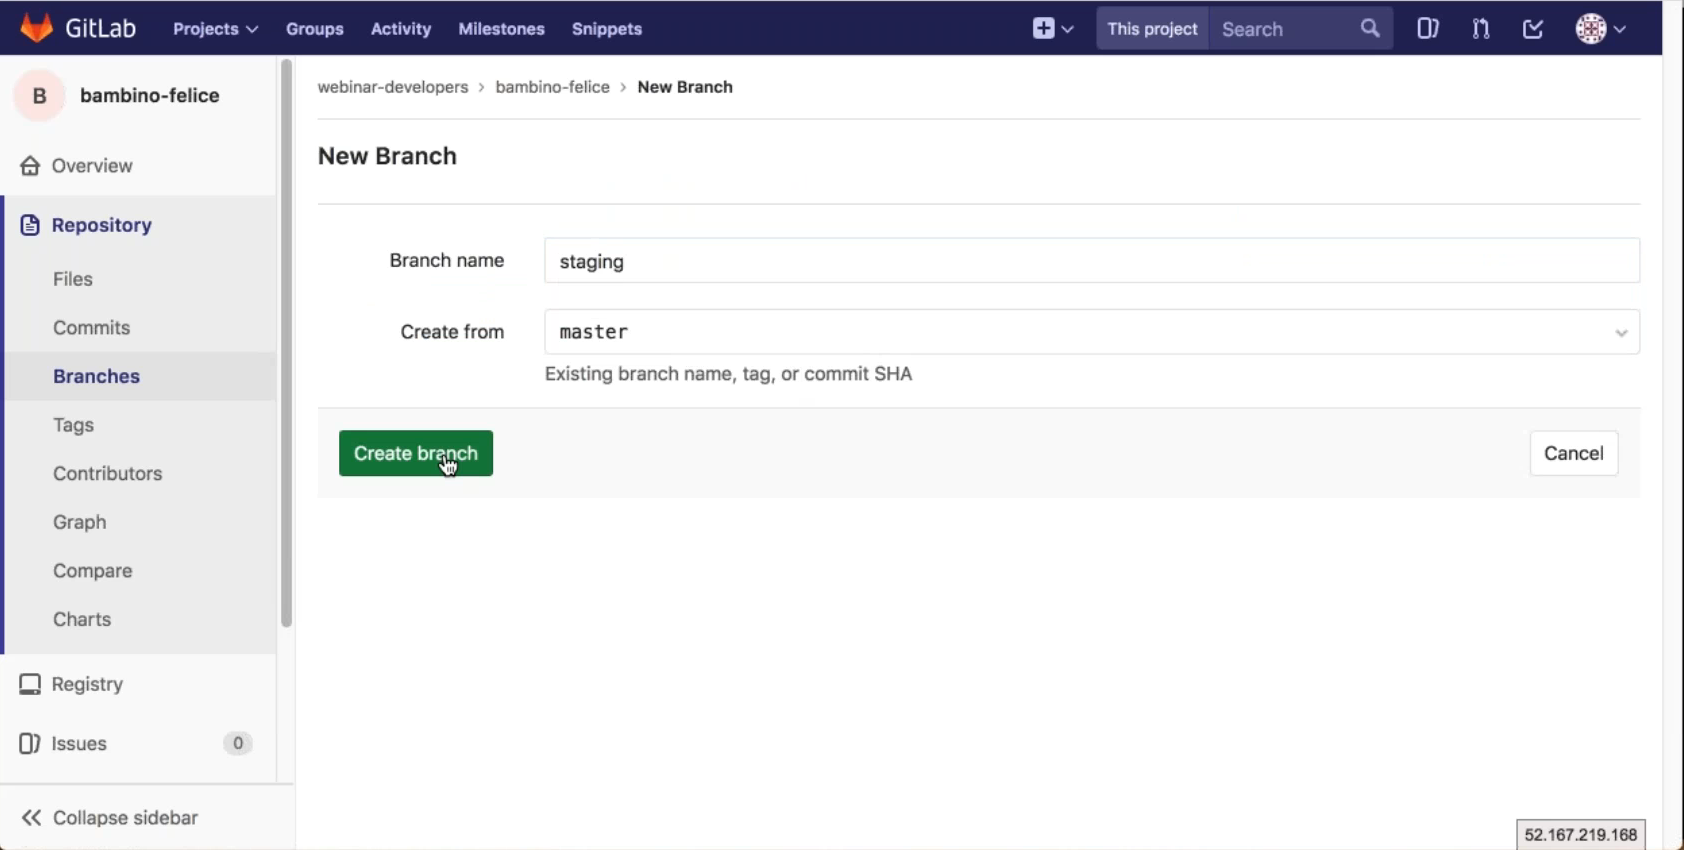
Then accessing Repository > Branches you can create a new branch with the New Branch command on the right side. Once the new branch has a name, this one will appear as a derivation of the master.
Issues in GitLab
A really interesting feature of GitLab is Issues, which allows to manage the work of a group by assigning and reminding the members of a group the activities and tasks assigned to each of them.
To use this tool, access to the section in the left part of the main GitLab view and click on the Issues tab to access another working window: the example we propose is about to create a note for a user to remember him to modify a branch and to introduce it in the staging branch.
In the Issues window click on New Issue and add a meaningful title; the change will be recorded in the README file too.

In the lower part of the window we can decide whom this issue is for, or if we should make it Confidential.
Click Submit Issue at the bottom of the page to submit the Issue.
In this case too the synchronization between GitLab and the local environment has to be commanded by the command line: git pull to tell GitLab to pull on the local computer any work done via Web.
The next image portrays the result of the pull, which basically tells that there is no new file but a new branch has been found. To work on the Issue, move to the branch: git checkout name-of-branch.
Update and save the README file from the command line. Back to the CLI, let’s repeat the operations to add a modified file: git add README.md.
Then save the commit with git commit -m “add a message”.
With git push -u staging we can see the result of the push and update the repository at GitLab, which will take a couple instants to update and be visible.
We can consider the Issue as closed, and add messages for team members if needed.
Other features in GitLab
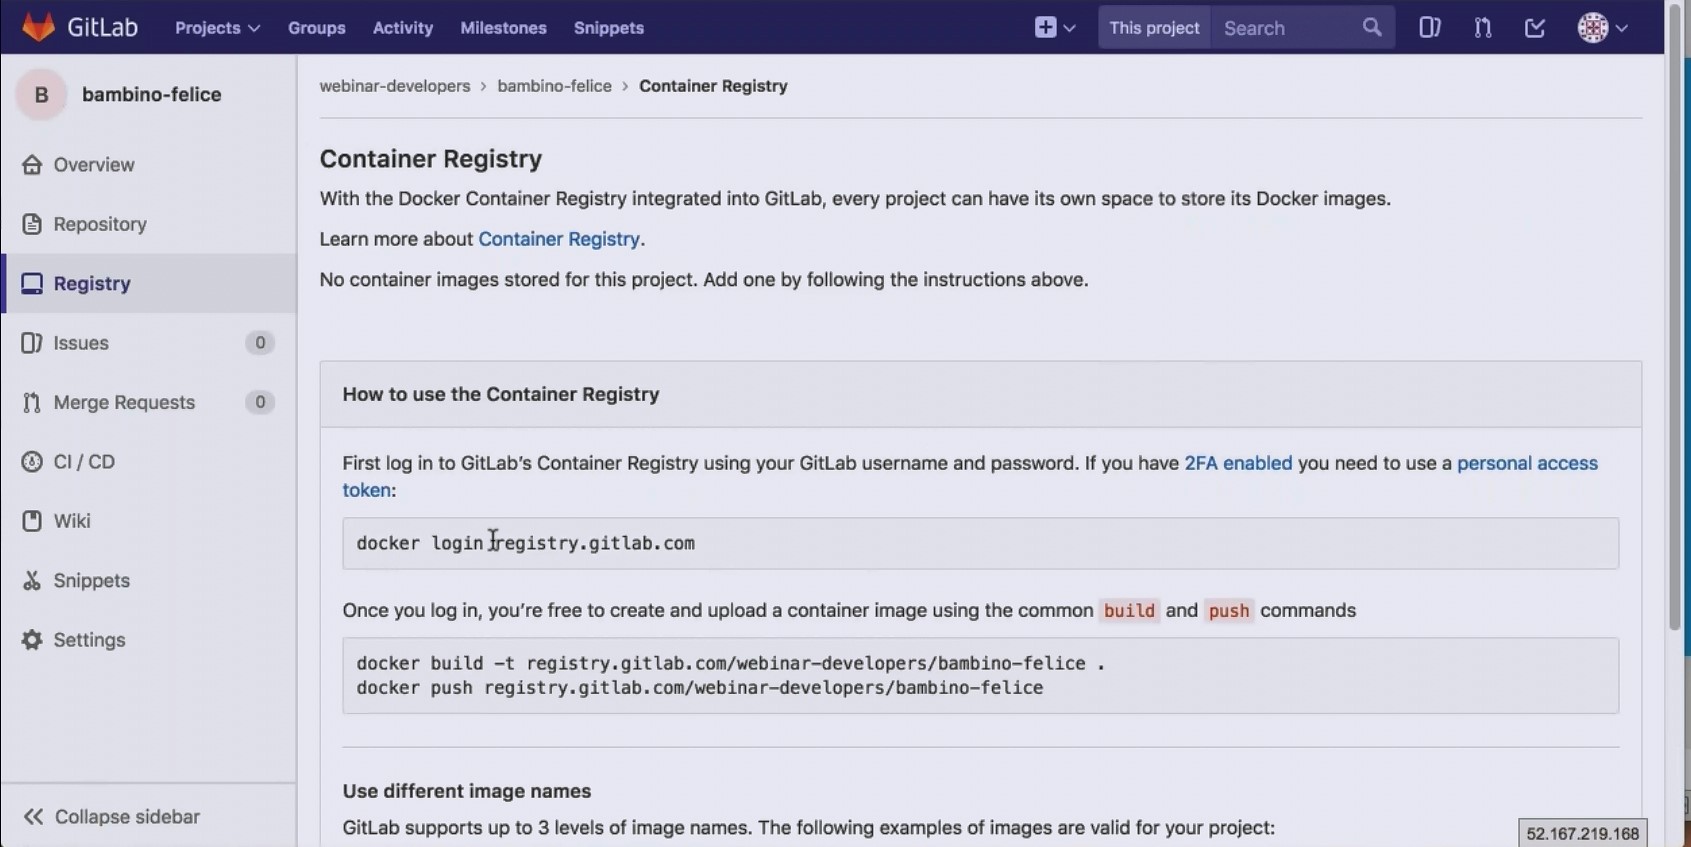
Let’s talk about another feature of GitLab: Container Registry (CR).
CR is installed -both remote and local- with versions from 2017 onwards; the following picture shows the main CR window. CR is a useful feature to manage Docker images and interact with them; it allows a GitLab project to have a Docker space.
Another interesting feature is CI/CD (Continuous Integration, Continuous Delivery), which has specific tools to perform these operations. They can be accessed by the contextual menu when clicking on CI/CD. The same lateral menu has capabilities to create a Wiki, Snippets, etc.. Each feature has a specific menu voice.
Merging and visualizing modifications in GitLab
A fundamental feature in teams is the merge, which is the capability to manage a merge the work of users of a branch. Visually, the modifications will be highlighted with different colors and grouped by author in order to ease the consultation and comprehension.
To start a merge, open the branch window and click on Merge request. The related window allows to see the differences between the committed project and the modified project showing the all data since the first commit, thus avoiding the risk of losing a single line of code.
An exclamation mark might appear beside modifications: it’s the Git way of saying that there’s a relevant change.
Each project has a tree structure visualization that allows to follow backwards the modifications between commits up to the origin of the project, as well as deleting branches.

")