Previous article: an introduction to XenServer
In the previous issue we have introduced the XenServer hypervisor and talked about its history, from the origin of the project up to now, then we’ve described its structure and operating mode. In this new article we’ll take a closer look at how to install and use it. The ISO image is available at this address, where you can also access to Software Development Kits, patches and documentation.
Like other hypervisors, there’s an HCL list with supported hardware, but for a testing purpose you can install Xen onto a whitebox with non-officially supported hardware: take care when choosing chipset and network cards (Intel IHC and Realtek NICs are to be preferred). Once the hardware and the ISO are ready, create a bootable USB drive (using free tools like UnetBootin or Rufus) and start the installation by selecting boot from such drive.
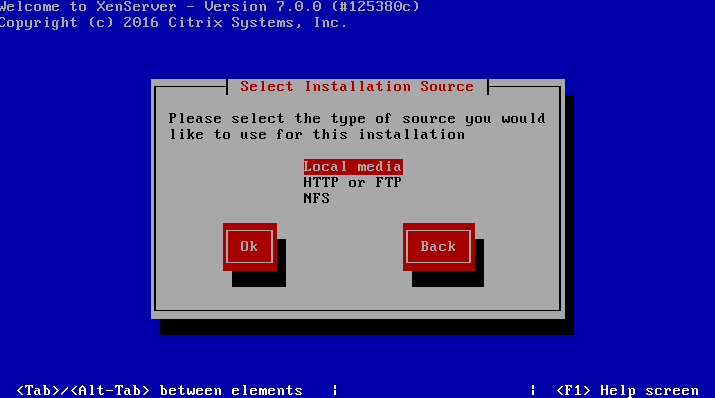
The first screens of the procedure closely resemble the ones of CentOS, on which Xen is developed: during this phase you can select keyboard layout, accept EULA, add additional drivers and select the installation disk. You are also asked a root password, which NIC to use for management and IP configuration (static, dynamic, etc..). Once the installation is done, reboot the host and you will be presented with a summary of all settings that you can change; you could also launch a shell and execute commands.

As described in the previous article, Xen can be totally managed from the command line from the host, but you can also download and run on a computer on the same network the Windows XenCenter graphic client to offer a better operating comfort.
A glance at the graphical interface
Once the management client is installed, the first step is to add the host to manage: either select the Add voice from the Server menu, or use the Home icon. You will be asked for access credentials and IP address of the host. Then you can browse amongst tabs and see parameters about memory, network and storage, or add the host to an Active Directory domain. In the left lower part there’s the notification area, where the system warns in case of available updates or certain events. After the first installation it’s highly suggested to check and install any available update.

Some updates require a reboot, which is automatically done by the system only in case of necessity. Yet you should stop any running VM in order to avoid system interruptions; in a multi-node configuration you can temporarily migrate them on another host. An interesting feature is upgrading a pool of XenServer hosts from version 6.x to 7 directly from the graphical interface (Tools -> Rolling Pool Upgrade)
Network and Storage
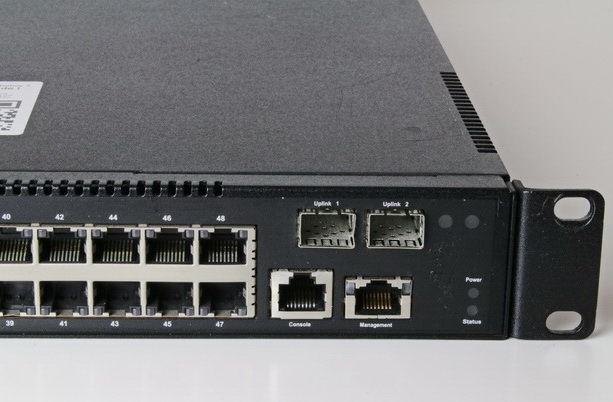
Storage and networking are two fundamental aspects of any virtual infrastructure. Regarding networks, XenServer offers two main typologies: Internal network and External network. The former are completely virtual, totally managed by the hypervisor and allows VMs to communicate among them without an access from/to the external world. The latter are bridges that allows to associate physical ports on the host (Physical InterFace) to network ports of VMs (Virtual InterFace). If using multiple NICs on the server, you can also create a Bond (or several Bonds), that is a logical interface that groups different NICs in order to provide better performances and fault tolerance. Xen also supports VLAN and uses Open Virtual Switch (OVS) to manage a bridge distributed on hosts within the same pool.

In XenServer, storage is organized in Storage Repositories (SR). Each SR is a logical container that can be composed by one or more remote LUNs (fibre/FCoE SAN or iSCSI) or an NFS share. According to the terminology used in Xen, a Storage Repository is composed by several Physical Block Devices (PDF) and everything is managed with LVM, so an SR can be expanded with additional storage space. In order to allow a live migration of VMs with their related storage (the same of Storage vMotion in VMware vSphere), the SR must be shared among the hosts of the cluster. Otherwise the migration will still be possible, but it is a copy from a disk to another with a consequent negative impact on performances.
As an additional storage space for less important data (like ISOs or temporarily snapshots during a backup), you can also create a SR using local disks or an NFS/SMB share. This operation cannot be done using the graphical interface, however it’s trivial from the command line. When creating it, a virtual machine will be assigned with a portion of the SR to create the virtual disk (VDB, Virtual Block Device) or dedicated logical volume. You can also choose the classic file in VHD format.
Within the interface you can also attach a disk (LUN iSCSI or unit belonging to another guest), in read only mode too, to guest VMs, or use the PCI-Passthrough technology to assign an internal PCI physical device. There are some interesting technologies in development, like the RawHBA driver which allows a direct mapping between a fibre channel LUN and a virtual disk, or the GlusterFS/Ceph backend that implements a kind of virtual SAN sharing local disks, with a result similar to the vSAN architecture by VMware.
The first virtual machine
Once the environment is ready and the basic features are learnt, you can create your first virtual machine: click on New VM in the upper bar of the interface and select a template from a list of available ones. Next step is to assign a name to the machine and a small optional description, then decide the installation mode. You can choose a repository with the correct ISO to use, or select an installation from the Internet (in our test we specified http:/ftp.debian.org/debian in the Install from URL field). In our tests we also installed a CentOS 6 OS using the URL http://mirror.centos.org/centos/6/os/i386/
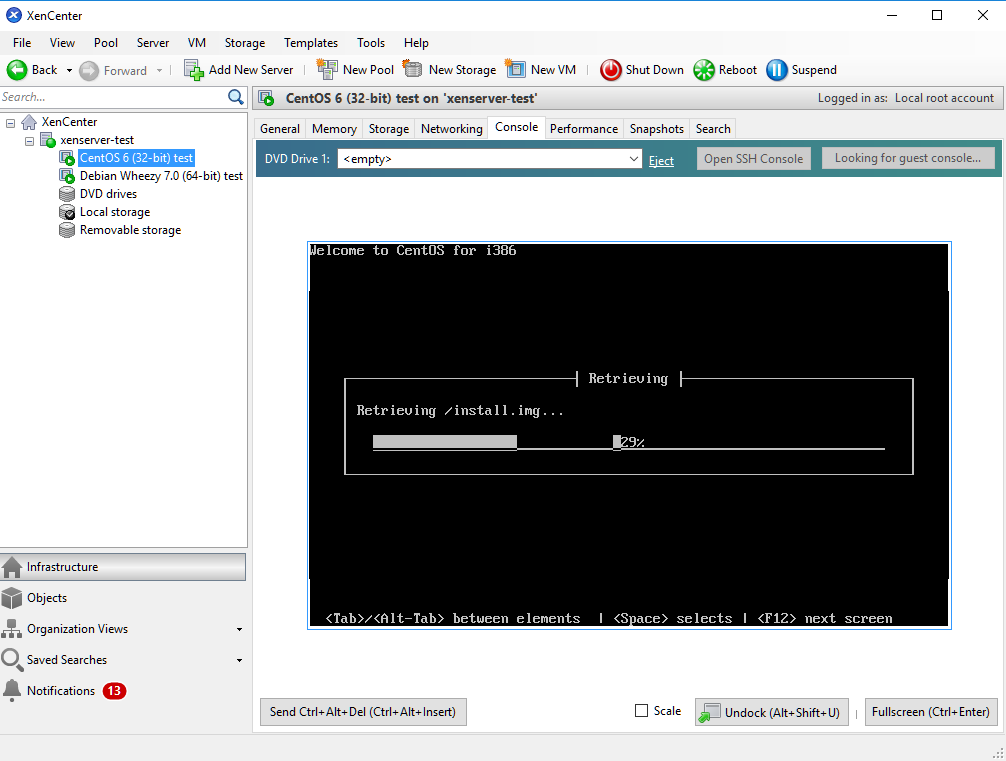
The following parameters are about how much CPU and memory resources to reserve for the vm, creation of the disk and virtual network interface. After starting the operation you can control its progress state waiting for ts conclusion. Installing a Windows VM is similar: let the support be accessible and boot the machine like it were a common PC, then follow the classic steps of the Microsoft installation.
We have used this guest to test the snapshot feature: select the tab of the same name, then Take Snapshot and in a few seconds you will obtain a saving of the state of the virtual machine. Just like every operation, this one too has a command line equivalent command: in practice you can leverage the xe vm-snapshot command with some parameters as a basis for backup scripts. Here’s a few practical examples.
xe vm-snapshot uuid=8ac95696-94f3-83c1-bc89-8bb2603f832b new-name-label=testvmsnapshotxe vm-export vm=b15c0531-88a5-98a4-e484-01bc89131561 filename=vm-backup.xva
As with other virtualization products, you can use this snapshot as a “model” to create a template or a new virtual machine.
xe template-param-set is-a-template=false ha-always-run=false uuid=b15c0531-88a5-98a4-e484-01bc89131561
Why should I use Xen?
XenServer is a good compromise between performances, stability and costs: you can manage an extended virtual machines farm with a limited investment in terms of hardware. Also, its architecture is open, modular, automatable and the SDK provides many tools for an advanced automation. It’s a choice that perfectly suits the needs of providing users with a virtualized desktops infrastructure where you can leverage the integration with other products by Citrix.
Xen has a few limits, among which is the low degree of integration with different platforms and the lack of certain features that are available with competing products, like RAM and CPU hot-add (ie expanding those resources of VMs without incurring in a downtime).
In general if the IT infrastructure doesn’t need those features and you want a virtualization product that is solid, stable, highly-performing and with a great company behind, then Xen is a choice to ponder upon for sure.

")